Before you start
block
Don’t eat or drink for 30 minutes prior to collecting your sample
This includes food, water, smoking, chewing gum, and brushing your teeth.
markunread_mailbox
Don’t throw away your envelope
Make sure to save the return envelope included with your kit.
person_check
Take the test yourself
You agree to collect your own genetic sample, not someone else’s.
schedule
01 — Activate your kit
To get started, locate the QR code inside of your kit.
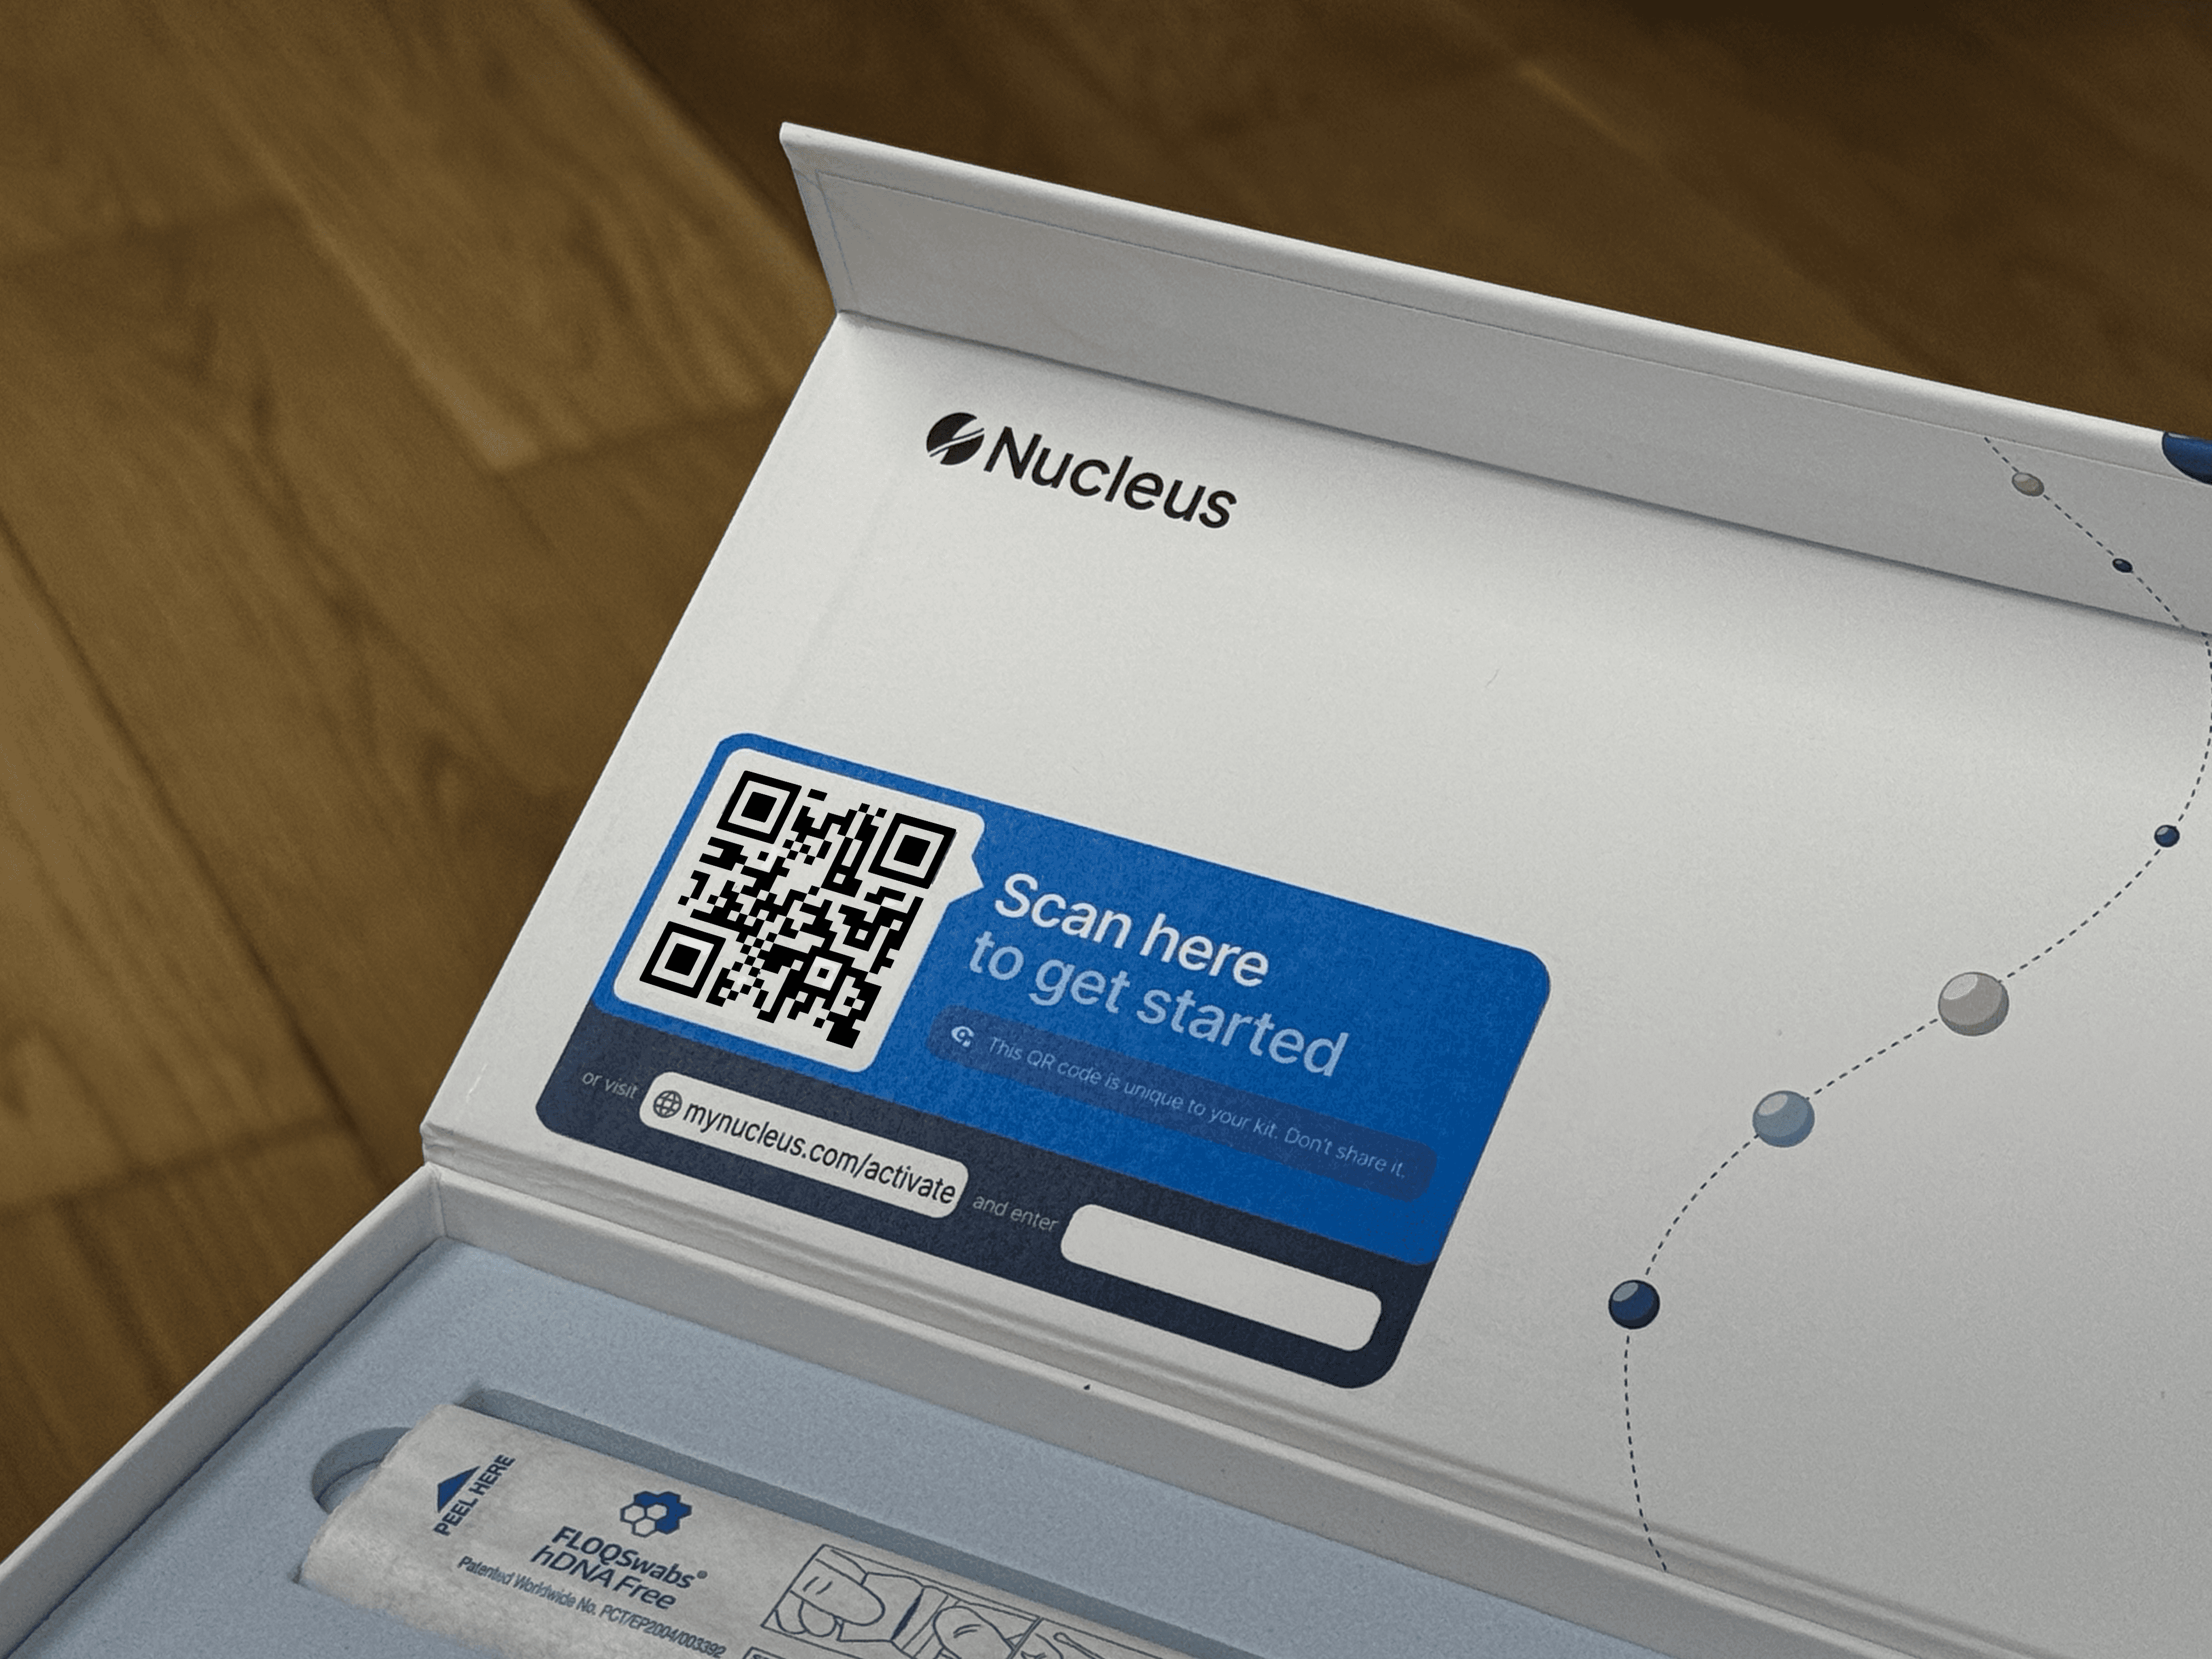
Scan the QR code, or click the button below, and follow the instructions.
report
Do not skip this step! Activating your kit is the only way for you to get your results.
02 — Collect your sample

Step 1
Unscrew the cap from the collection tube.
Remove one swab from its package.

Step 2
Place the swab into your mouth and firmly rub the inside of your left cheek 15-20 times. Rotate it as you rub.

Step 3
Gently twist and insert the swab into the collection tube.
While holding the tube firmly, move the swab up and down in short, rapid movements 15-30 times.

Step 4
Slowly twist and pull the swab out of the tube.
As you do this, make sure to get as much liquid from the swab tip into the tube as possible. The liquid in the collection tube should now be cloudy.

Step 5
Place the second swab into your mouth and swab your other cheek.
Firmly rub the inside of your other cheek 15-20 times. Rotate it as you rub.
Step 6
Gently twist and insert the second swab into the collection tube.
While holding the tube firmly, move the swab up and down in short, rapid movements 15-30 times.
Step 7
Slowly twist and pull the second swab out of the tube.

Step 8
Screw the cap tightly back on the collection tube.
Place the collection tube in the clear biohazard bag.
03 — Mail your sample
Step 8
Screw the cap tightly back on the collection tube.
Place the collection tube in the clear biohazard bag.

Step 9
Place the biohazard bag in the pre-labeled return envelope and seal it.
Send your sample via the shipping carrier on the label.


